How is everyone doing? I don’t know about you all, but I am SO ready for fall weather!! It has been so hot, humid, and just plain yuck here. I am ready for boots, scarves, cute hats, plaid jackets, colorful leaves, and pumpkin EVERYTHING!
But with fall comes the start of my crazy life… and I seriously mean crazy!! So this is what I am up to:
I am teaching 19 dance classes a week for Dancexcel. Yes, 19. I am so excited to meet all of my classes, and spread my love of dance to all my students.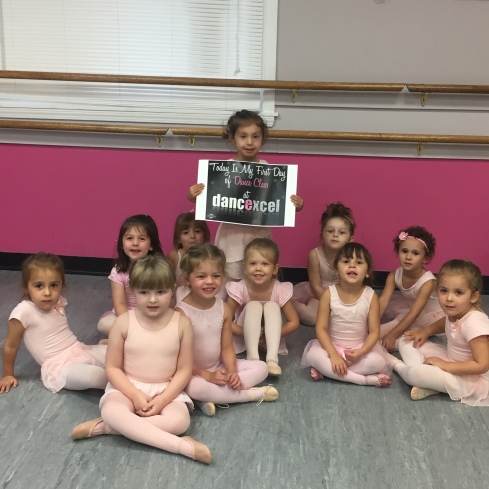
Then I added another dance project called Reach Out and Dance. This is a program based on another called Rosie’s Theater Kids… Rosie as in Rosie O’Donnell. I get to go into public schools and teach school kids dance in place of their normal gym time. It is a really great project because I feel like it is giving back through my talents and it exposes kids to dance who don’t pay for classes at a studio.
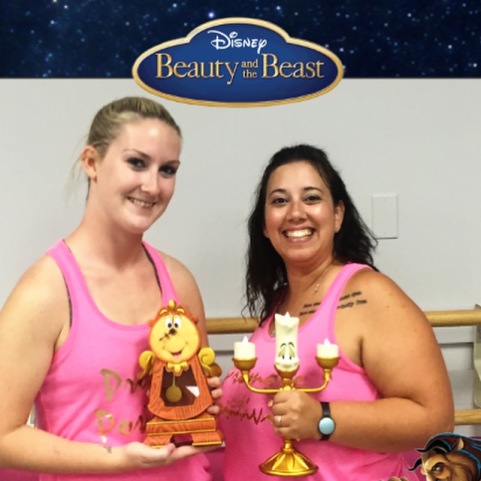
AND earlier this month I auditioned for and was cast in a local production of Beauty and the Beast through a company called Mighty Goliath Productions. I am so excited because I am always on the production team end of musicals and it has been a very long time since I have been actually IN one! And even better, my co-worker/bride to my bridesmaid/partner in crime Miranda is also in it with me. She has never done a musical so this is a new experience for her, making it even more fun for me!
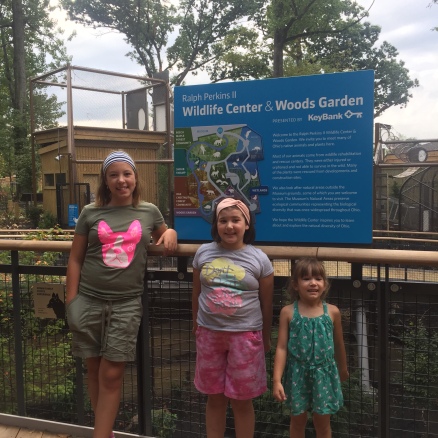
Then aside from my crazy career, I also have not one for two homeschool co-ops- FLOW and Nature Rangers. And of course, playdates/field trips/reading/ meal planning/ cleaning/ zoo-keeping/ and life. Lol, and I didn’t even mention Klint and all of his schedule! 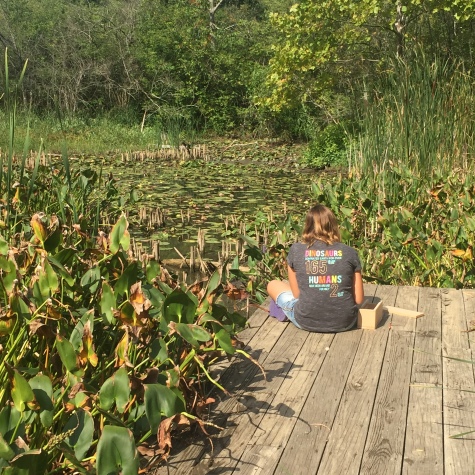

What does your crazy life look like? Lay it on me!